“`html
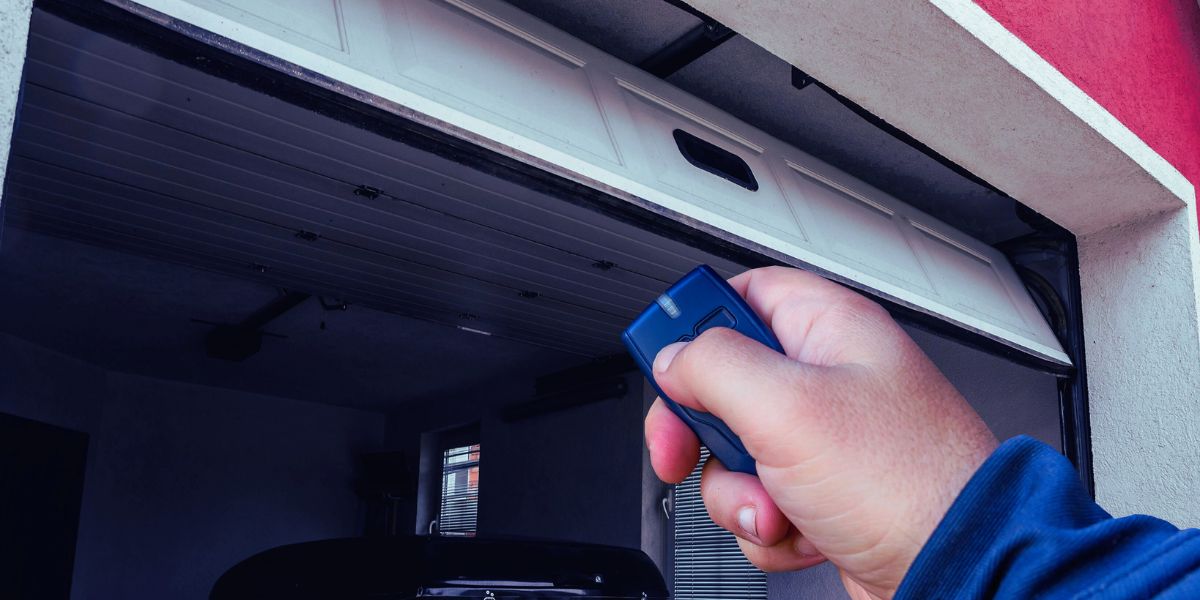
How to Prevent Garage Door Freeze-Ups in Winter
Winter can be a challenging season for homeowners, especially when it comes to garage doors. The cold weather can cause garage doors to freeze shut, leaving you frustrated and unable to access your vehicles or equipment. Understanding how to prevent these freeze-ups can save you time, money, and hassle. This article will outline effective strategies to keep your garage door functioning smoothly during the harsh winter months.
Understanding Garage Door Freeze-Ups
Garage door freeze-ups typically occur when moisture builds up on or around the door, leading to ice formation. Various factors contribute to this issue, including:
- High humidity levels inside the garage.
- Poor insulation, allowing cold air to seep through.
- Condensation from temperature changes.
Recognizing these causes will help in implementing effective prevention strategies.
Prevention Tips for Garage Door Freeze-Ups
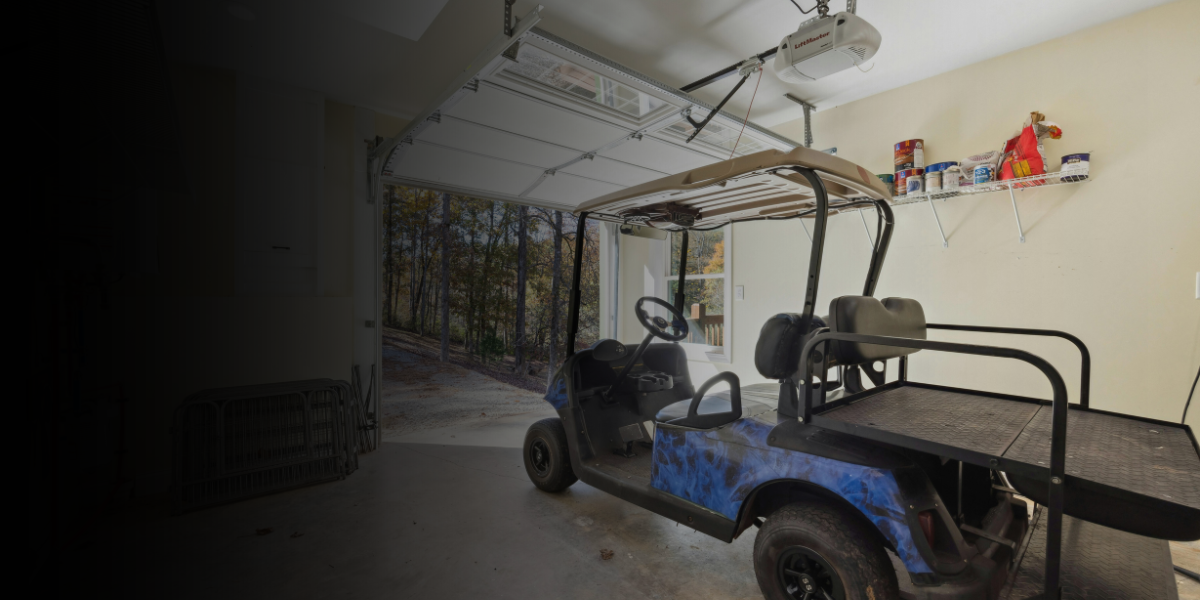
1. Insulate the Garage Door
Insulation plays a crucial role in maintaining consistent temperatures inside your garage. Consider the following options:
- Install foam board insulation on the inside of the door.
- Use insulated garage door panels if you’re purchasing a new door.
- Seal any gaps or cracks around the door with weather stripping.
2. Keep the Garage Dry
Moisture control is essential in preventing ice formation. Here are some tips to maintain a dry garage:
- Utilize a dehumidifier to reduce humidity levels.
- Ensure proper drainage away from the garage entrance.
- Regularly check for leaks or sources of moisture and address them immediately.
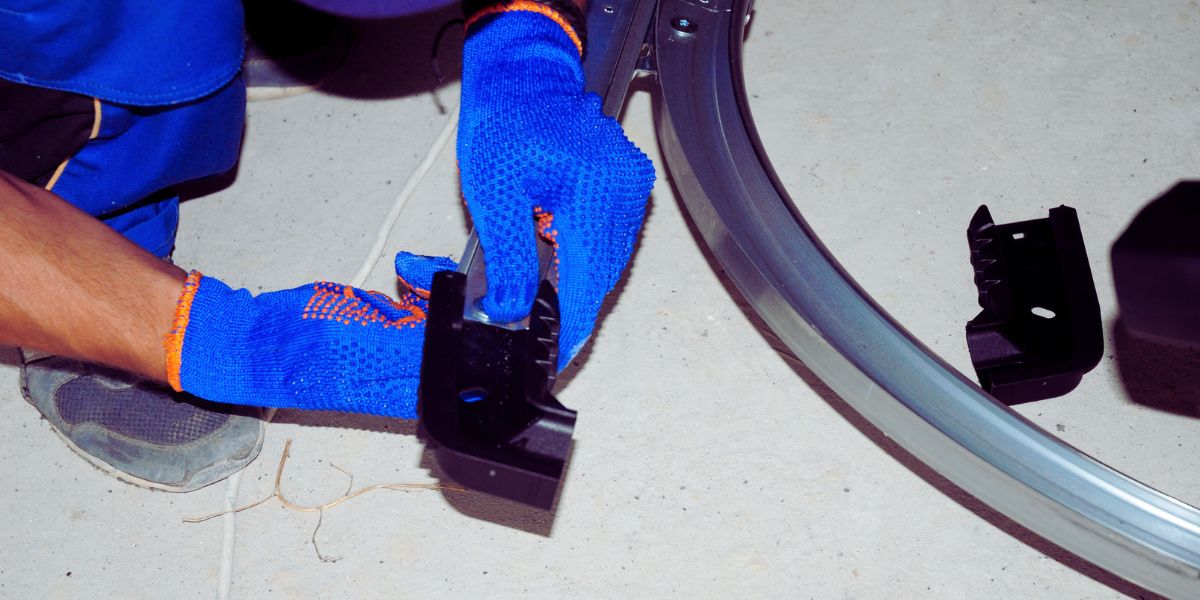
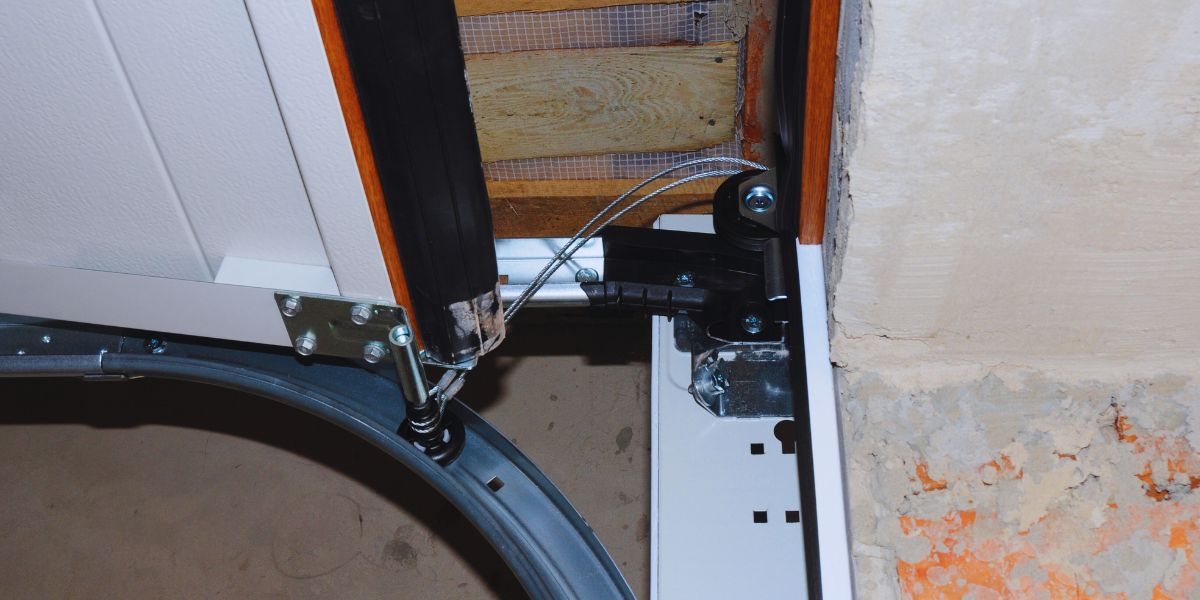
3. Maintain Your Garage Door
Regular maintenance can significantly reduce the likelihood of freeze-ups. Consider the following maintenance practices:
- Lubricate the moving parts of the garage door, including rollers, hinges, and tracks.
- Inspect the door for wear and tear, replacing any damaged components promptly.
- Ensure that the door closes properly and seals tightly.
4. Use a Garage Door Heater
For extreme winter conditions, consider installing a garage door heater or heater mat. These devices prevent ice formation by maintaining a warm environment. Here are a few options:
- Overhead heaters that install on the ceiling.
- Portable heaters that can be moved as needed.
- Heated mats placed at the entrance of the garage.
5. Apply Anti-Ice Solutions
Using anti-ice products can prevent the formation of ice. Here’s how to apply them:
- Spray a silicone-based spray along the door’s seals and tracks.
- Consider using commercial de-icing solutions on problematic areas.
- Avoid salt-based solutions, as they can damage the door and surrounding surfaces.
6. Monitor Temperature Fluctuations
Keeping an eye on temperature changes can help you prepare for potential freeze-ups. Here are some monitoring strategies:
- Use a thermometer to check the garage temperature regularly.
- Invest in smart home technology that alerts you to drops in temperature.
- Be proactive when temperatures are forecasted to drop significantly.
7. Protect the Garage Entrance
The area right in front of your garage door is crucial in preventing ice buildup. Consider these steps:
- Use ice melt products strategically on the driveway and approach.
- Keep the area clear of snow and debris to prevent grounding moisture.
- Consider installing a rubber mat or flooring that provides better traction and reduces moisture collection.
FAQs About Garage Door Freeze-Ups
What should I do if my garage door is already frozen shut?
If your garage door is frozen shut, try the following:
- Use a hairdryer on a low setting to gently warm the ice around the door seal.
- Pour warm (not boiling) water around the edges of the door.
- Avoid using sharp tools to pry the door open, as this can cause damage.
How often should I perform maintenance on my garage door?
It’s advisable to conduct maintenance on your garage door at least twice a year. However, during the winter months, it may be beneficial to check it more frequently for any issues.
Conclusion
Preventing garage door freeze-ups in winter will ensure that your door operates smoothly while protecting your vehicle and belongings. By insulating your garage door, controlling moisture, maintaining your door, using heaters, and monitoring the environment, you can mitigate the frustration of freeze-ups. Taking these proactive measures can lead to a safer, more accessible garage throughout the winter months.
“`
A garage door that won’t open is more than just an inconvenience—it’s a security risk. At Ryan Garage Door Won’t Open Service, we provide quick, reliable, and affordable repairs to fix stuck garage doors. Our experienced team handles broken springs, damaged cables, misaligned tracks, and malfunctioning openers, ensuring your garage door operates smoothly and safely. Whether it’s an emergency repair or routine maintenance, we deliver expert solutions at competitive prices. With same-day service and quality workmanship, we are your trusted choice for garage door repairs. Call us now for fast assistance!